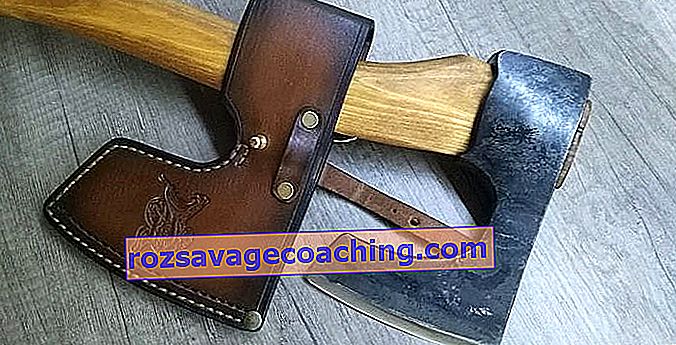
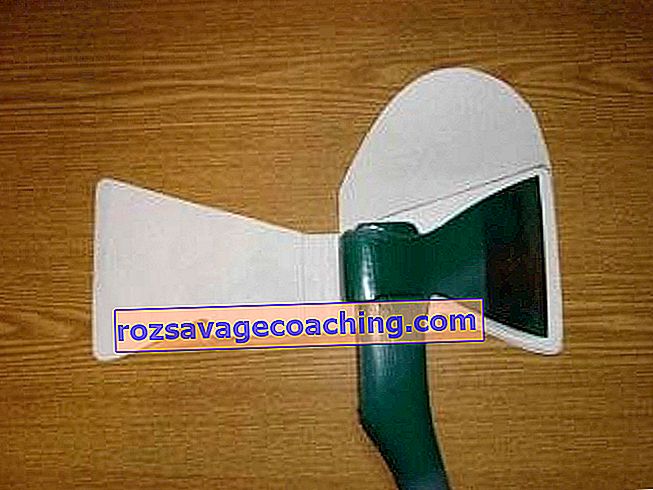
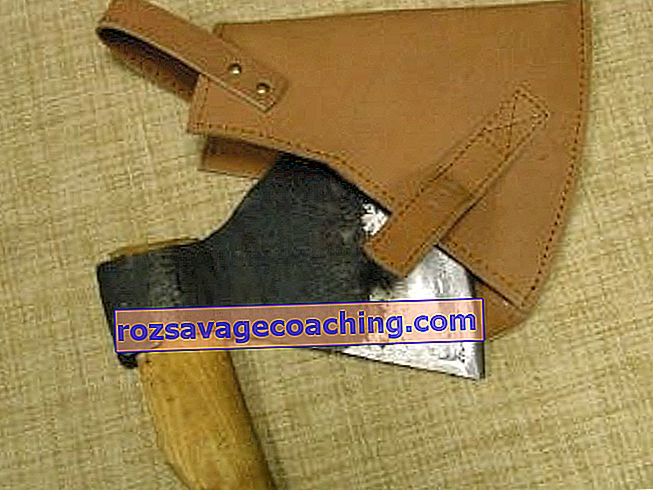
To make such a necessary accessory as an ax case, you do not need to have any special skills and knowledge in tailoring. It is enough just to acquire the necessary material and some tools, most of which can be found at home. The ax case allows you to carry the weapon with you, and also protects against accidental cuts with a sharp blade.
For a taiga ax, you can make a do-it-yourself cover from plastic or tarpaulin. Such a holster is reliable and does not lend itself to low temperatures.
Preparation of the necessary materials
The creation of a case will require a dense piece of leather, which will have a high-quality skin - a part of the hide, on the manufacture of which the operational life of the finished product depends. You can find the necessary material in any store specializing in shoe repair. Today, the most suitable materials for the manufacture of a cover for an ax are the so-called saddlecloths and "knobs". These types of natural leather are obtained by cutting from the back and neck of the animal. It is these parts that are characterized by high strength and reliability.
When choosing the required size of a piece of leather, it is necessary to take into account the thickness of the material along the entire perimeter , since any abrasion can lead to the fact that the cover will not last long to its owner. Due to the fact that the material used is quite thick, ordinary scissors, even the sharpest ones, most likely will not cope. Therefore, it is recommended to give preference to metal scissors or a carpenter's knife. The material is cut exclusively from the wrong side of the material. This is due to the fact that the skin there is more elastic and easier to cut.
The pattern on the seamy side of the skin can be translated using a regular pen or marker. But in no case should you do this from the front side of the material, since even a simple pencil leaves a mark that is difficult to deduce. If you have smooth leather, it is recommended that you use a tailor's chalk or a small bar of soap.


To attach the necessary elements, you will need a special adhesive composition with high elasticity. Such a composition can be easily found in an already familiar shoe repair shop. Please note that the label must mention that the adhesive is capable of bonding leather and rubber materials.
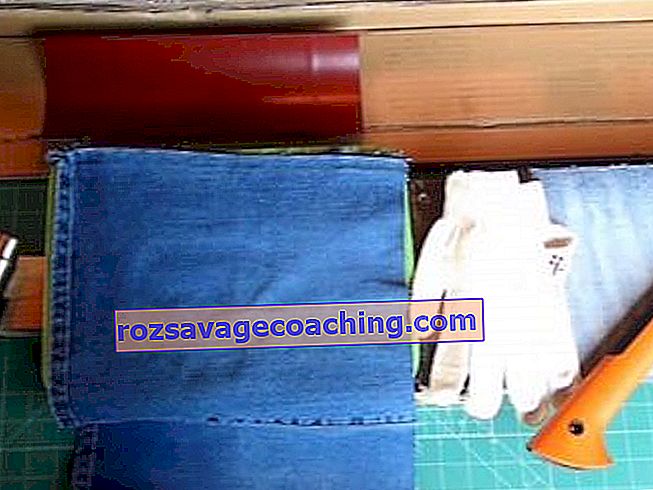
It is necessary to choose a shoe thread with a wire fiber. This ensures a secure connection and ensures that the sharp claw blade does not cut through the seams, and the wax layer will protect the product from moisture. When working with leather goods, the so-called gypsy needles are often used. They are very easy to use. But in the absence of them, you can use a regular crochet hook. Also, an awl will cope with the task. Thus, to create a case, you will need to acquire the following elements:
- a piece of high-quality genuine leather;
- threads treated with wax;
- special adhesive composition;
- carpentry knife or scissors for metal;
- clasp;
- a grinding device for processing the edges of the material (if it is absent, you can do the same procedure with an ordinary clerical knife).

In turn, to make a pattern, you will need thick paper, a pen or pencil. After preparing all the necessary materials, you can proceed to create an ax case yourself.
Creating a cover pattern for an ax
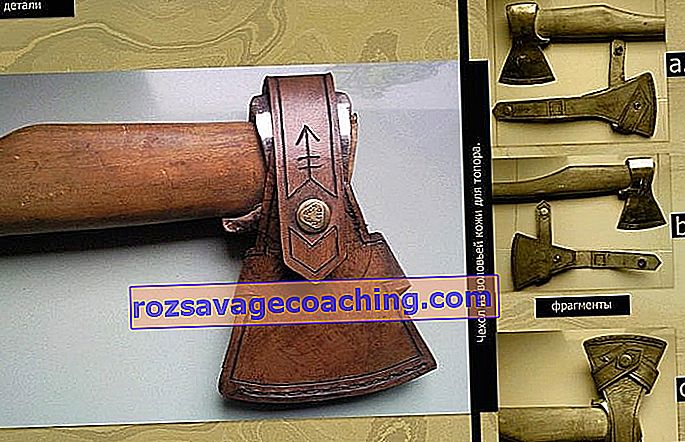
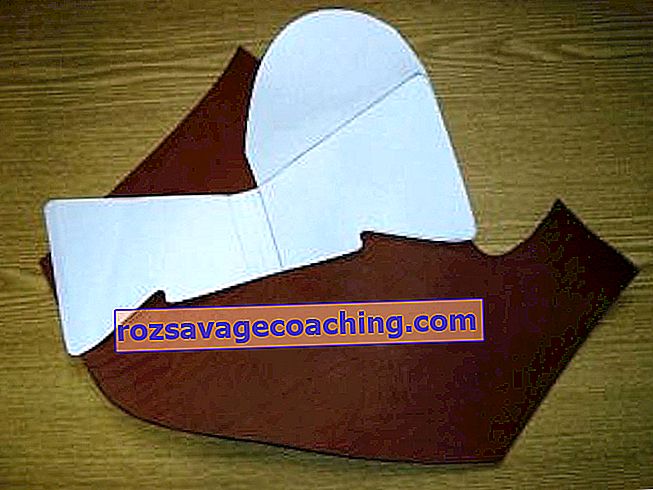
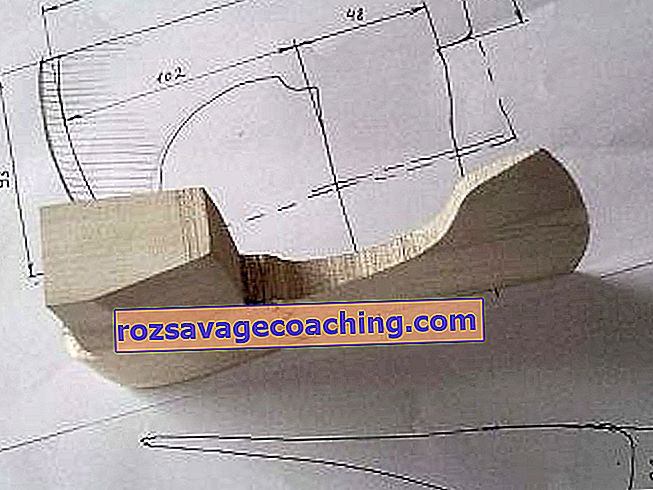
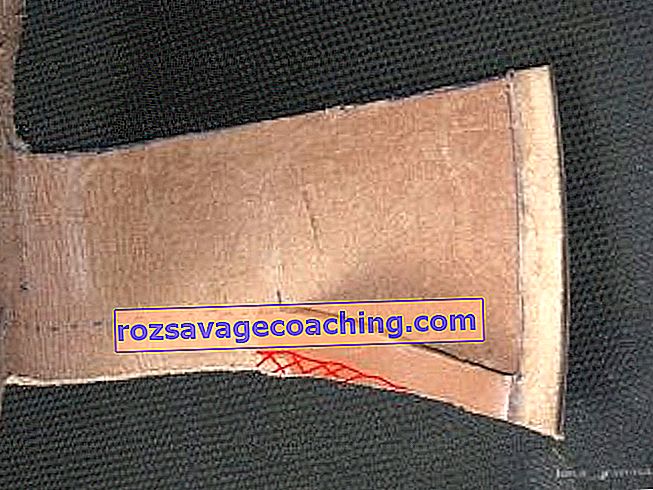
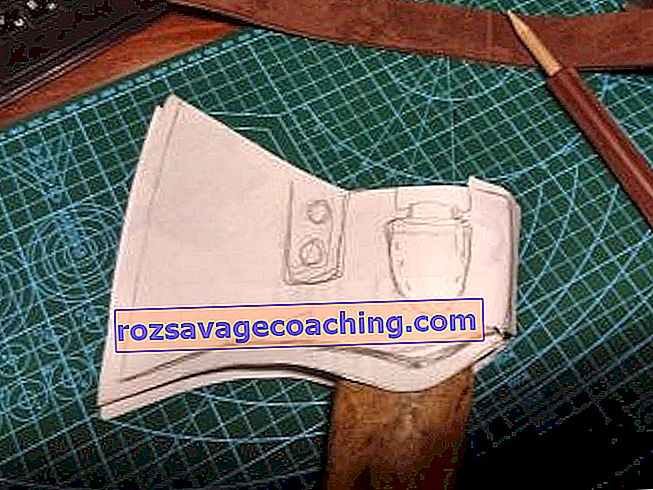
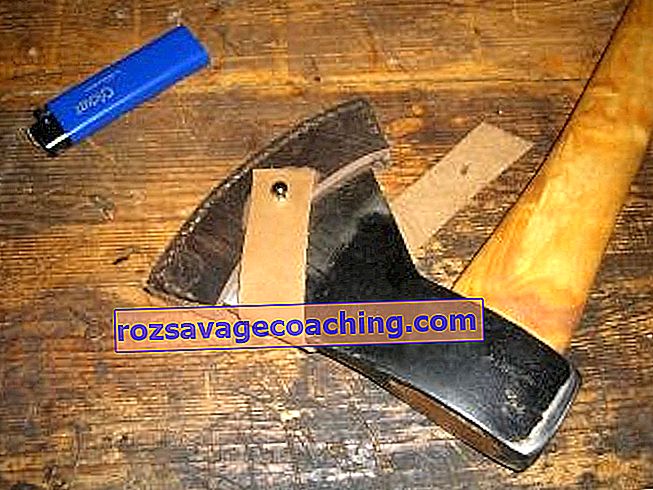
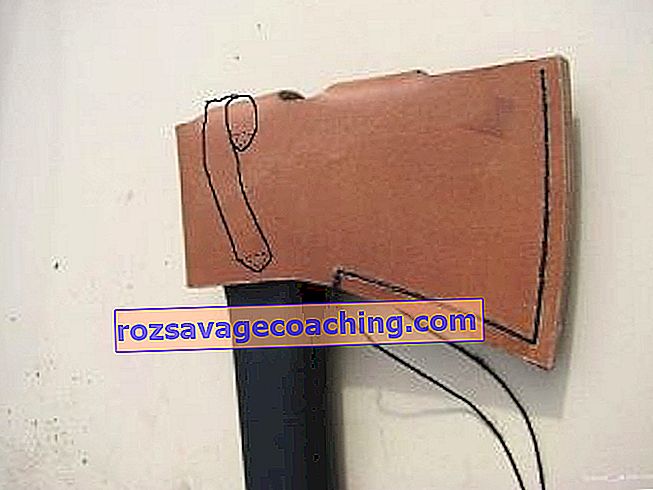
First you need to create a layout of the future product on thick paper or cardboard. You will need to make one simple measurement of the width of the eyelet loop of the ax (in other words, the blunt side of the ax, which is opposite to the blade). It is permissible to immediately attach the ax to paper or cardboard, and then trace the outline of the butt. Thus, there should be three elements: the pattern of the left side of the case, the bridge and the right side of the case with the flap. Don't forget about seam allowances. The ax blade should be loose in the case. Otherwise, the part of the skin in contact with the sharp blade will quickly fray.
Over the entire area of the pattern, it is recommended to add one or two centimeters to allowances. At the location of the butt, it is advisable to add another half a centimeter. When cutting the flap, the length of the blade must be taken into account. As for the height, there are no strict recommendations here - it all depends on the personal desire of the owner of the future case. As a rule, it is made equal to one second of the height of the product. It's no secret that tailors often use safety pins in order to avoid inaccuracies in translating patterns into materials. However, in this case, it is recommended to refuse this method, since the needles can leave tiny holes that will ruin the appearance of the skin, and subsequently the case itself.
In the case of sliding paper or cardboard patterns, it is advisable to press it with some heavy object or use a textile adhesive that can be easily removed with warm water.
Marking up, as mentioned earlier, is done with chalk, soap, pencil or marker. If you have high-quality and thick leather, there is no need to worry that the ink contour will appear on the front side of the product. Cutting is carried out by a deviation of 2-3 millimeters from the intended contour. This is because the dense leather material used is not easy to cut. The likelihood of an oblique cut line is high. In addition, when sanding the edges, the cuts acquire a more presentable and neat appearance.
Creating a pattern for the flared part of the blade
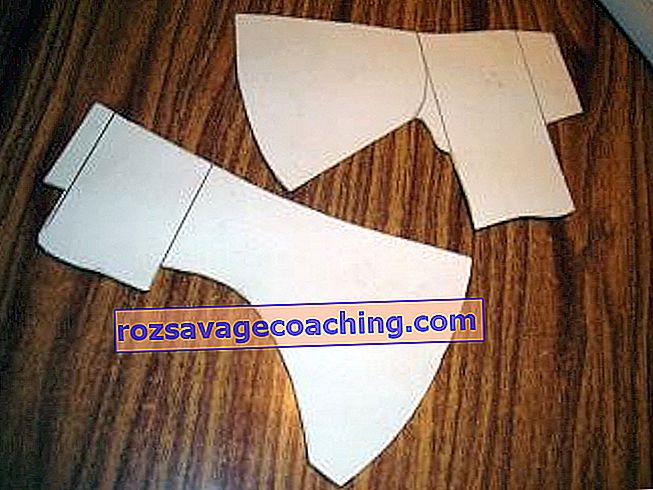
The last step in creating a pattern will be making a layout for the wedge and the blade itself. Most off-the-shelf ax cases do not include this item. However, it is worth noting that it is these models that have a shorter operating life and are not so comfortable to use. Thanks to the reinforced insert, the case acquires the density and reliability necessary for the product. It consists of five elements:
- the corner part (which has the contours of the blade on the sides and the bottom of the ax);
- lower wedge (with the contours of the lower part of the blade) - 2 pieces;
- spacers (with the contours of the lower part of the blade and one half of the length of the lower part of the blade) - 2 pieces.
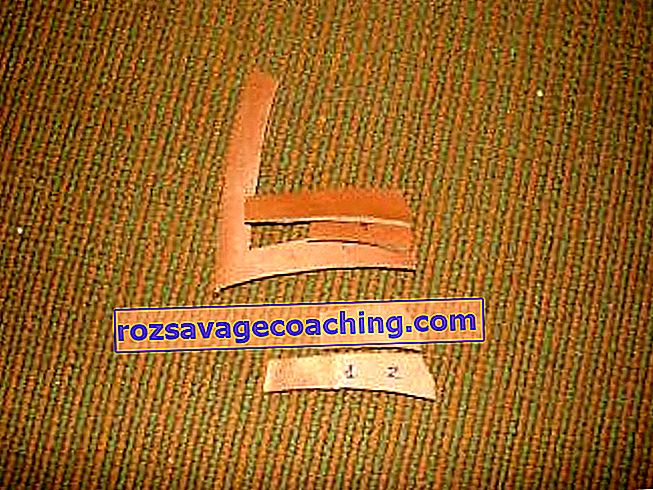
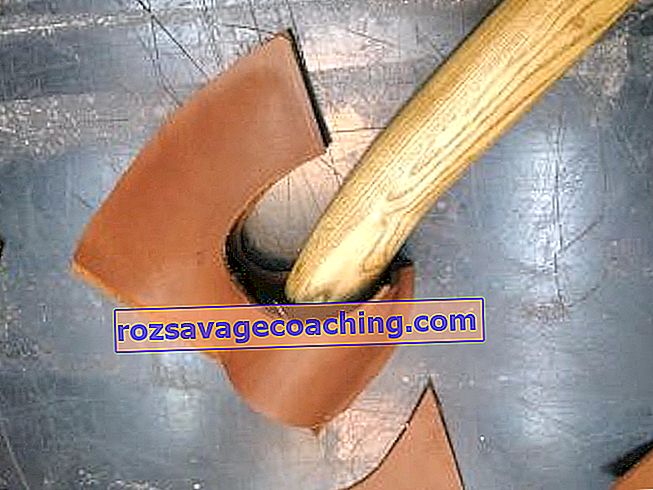
It is recommended to take at least 12-15 millimeters for the width of each part (a standard ax is taken into account). The resulting blade is assembled and glued using a specially designed adhesive. To do this, the corner element is connected to one of the gasket elements, after which the lower part of the blade is fixed with an adhesive composition. The procedure is repeated with other elements of the pattern. Each cut out part is abundantly processed with glue so that there are no dry areas throughout its area. This will protect the seal from wear.
For a secure connection, you can resort to using clamps and set aside the patterns until they dry. However, you need to be vigilant and avoid the appearance of marks on the skin. Once the adhesive is dry, the blade is glued to the main elements of the case.

Sewing the case
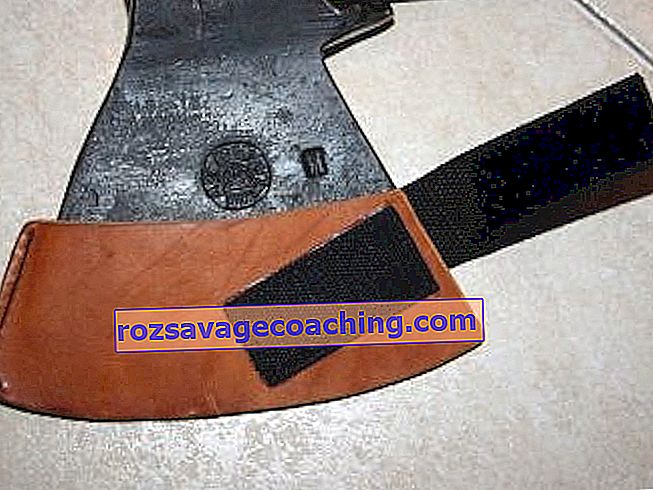
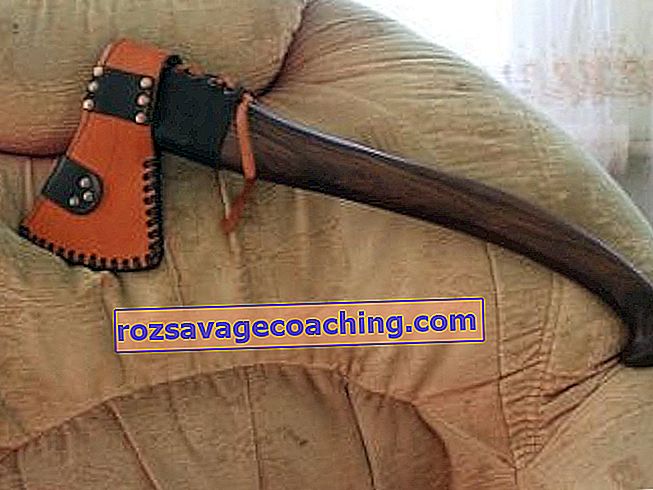
The final step in making an ax case yourself at home is sewing the loops to the back of the ax case. This is done with rivets. However, according to many reviews, this type of fastener is not as reliable as it might seem at first glance. This is due to the fact that, being under the pressure of the mass of the ax, the rivets wear out the skin and subsequently it breaks. It is not recommended to make the loop too narrow, otherwise - the tool will provoke the pulling of the belt. The length of the fastener is selected depending on the type of strap with which the cover will be fixed.
It is advisable to cut the harvested part with an additional distance of 3-4 centimeters. In this case, it will be possible to fix the scabbard for the weapon in any set of clothing. Even before the case is stitched, you must first think over the number of seams. If you want to make a free cover for the ax, one line is quite suitable, which will be laid with a distance of 5 millimeters from the border of the product.

Double stitching is required if the blade must fit snugly in the sheath. To achieve such a strict density of the product, it is recommended to put the ax into the resulting prepared pattern and only then sheathe it with threads.
Final collection of the case
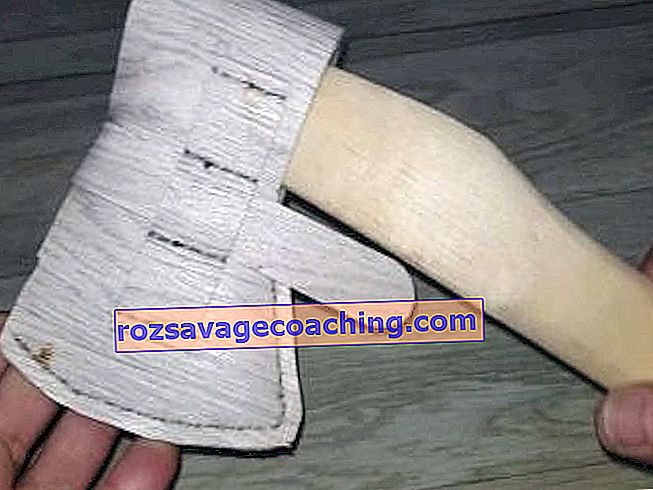
In order to avoid sloppy and oblique seams, holes for them are made in advance. Sewing gears will make this procedure easier. However, the marking can be done with kitchen forks as well. Then the holes themselves are made with an awl. It is recommended to start with the corner parts of the future case. Place a sewing needle or small stud through and secure part of the scabbard. On top of the hole obtained, it is necessary to make a so-called ditch for easier threading.
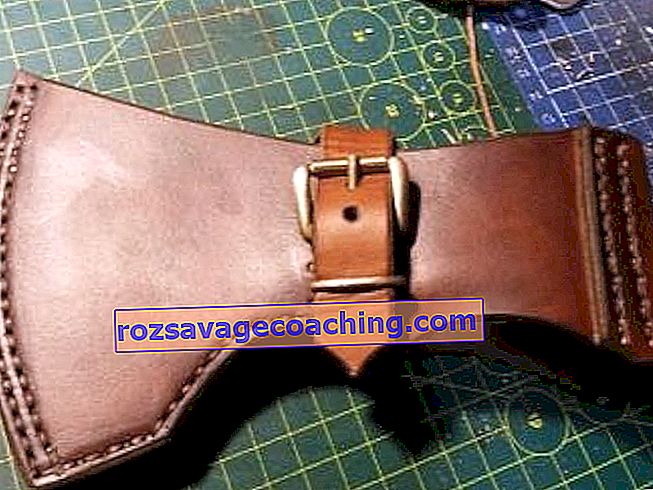
It is recommended to sew from the thinnest areas of the case, carefully and slowly moving along the outlined lines. Upon completion of the stitching of the ax case, the edges of the finished product are processed with a grinding machine (or a clerical knife). After that, the edges are processed with a lace or leather tape, which is glued with the glue solution used previously. The final step is to install the clasp.
For information on how to make a do-it-yourself PVC ax cover, see the next video.